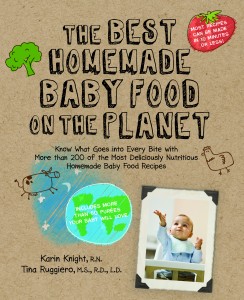
Book Review: The Best Homemade Baby Food on the Planet
When I came across this book, The Best Homemade Baby Food on the Planet By: Tina Ruggiero, I thought it was going to just be another book on how to make your own baby food. However, I was way off base, I absolutely LOVE this book for many reasons.
After reading just a few of the first pages and thumbing through the book I quickly realized how many actual recipes for baby food were possible to make. The author, Tina Ruggiero, does a phenomenal job in laying out the basics of homemade baby food, the different stages and what to feed your baby, toddler feeding, nutritional information about elements of food, special considerations for children, and in the very back is a feedback chart so you can document what your child liked and disliked.
Basics of Homemade Baby Food
In the first section, Tina equips you with all the knowledge you will need to successfully make homemade baby food. She lays out a nice list of all the tools you will need to prepare all your foods. She has also put together a nice list of different foods to keep in your pantry for your children, and and extensive list on food safety tips.
Stages of feeding your child
The bulk of the book is broken up into different sections for the different stages you will go through with your child. There are recipes for six months, eight months, nine months, ten months, and eleven months, and she rounds out this section with twelve to twenty three months.
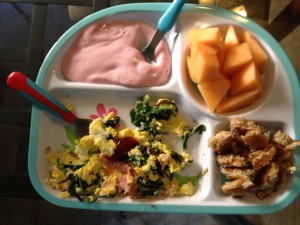
The recipes are compounded of different foods to incorporate into your child’s diet. It is not just a book on how to boil vegetables, blend them and freeze them. Tina has constructed her recipes in such a way that your baby will enjoy each food, and as the parent you will have the satisfaction of knowing that your baby actually likes their vegetables. She has recipes such as Pear Potato Puree, Apple a Day Oatmeal and Blueberry and Banana Breakfast.
The great thing about this book is that it covers a wide age range. I can use this book for my six month old, my two year old, and even my five year old loves the recipes. Such a versatile book, it is awesome.
Nutritional Information
This is a fantastic section to become familiar with. It takes you through the different components of things such as Fiber, Fat, Carbohydrates, and Proteins. It describes what it does, the different types of each nutrient, and the sources of where you can find it. What a great section to give parents knowledge of why each component of food is important in your growing baby’s health.
Special Considerations
Now a days kids can be extremely sensitive to many different things when it comes to food. In this section you will learn information and get a better understanding for lactose intolerant children, high risk children, fish and shellfish, teething and even choking.
I can’t recommend this book enough. I highly suggest if you are new to the world of making homemade baby food, then pick up this book and get to preparing these recipes. They are awesome and your baby will only thank you in the long run. Great Job Tina, for putting together such a great resources for families to feed their children in a healthy way.
To get your copy of this fabulous book CLICK HERE.
For other great articles on meal time for toddlers check out this article by The Mom Crowd’s Contributor, Tara.
Share the fun: Email + Del.icio.us + Digg + Technorati